My brother was awarded his PHD back in Janurary, and had his graduation ceremony in mid-July. I went to the ceremony, along with my parents, to support him and see him get handed his PHD.
I decided beforehand that I wanted to make him something as a graduation present. I wanted it to be something that he could use, so I wracked my brain for a while and decided to make him a chainmail lanyard. This post documents my process for making it – from designing to the final product.
Just like when I modified a pair shorts last year, this is not a tutorial. This is me making things up as I go with only a vague idea as to what I am actually doing. Hope you can enjoy this regardless, though.
The process:
I started off by planning things out on the back of the of an envelope. To be honest, I have a bit of habit of doing this with chainmail stuff. I have plenty of notebooks, but envelopes always seem to be the closest thing to hand. This envelope, in particular, contains my council tax letter.
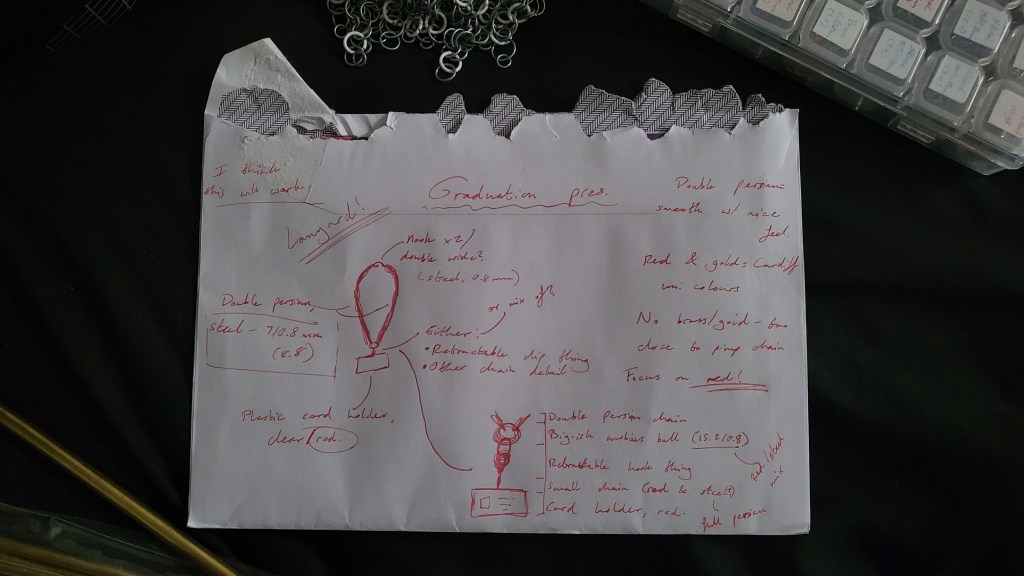
For this project, I want to use a weave that was smooth and nice to the touch, so I figured that some kind of Persian weave would work best. As for the material, I decided to use steel as it would be the easiest to look after and wouldn’t make his neck go green like brass or copper would after extended wear. Additionally, although brass may align more closely with his uni colours, I thought it may end up looking a bit too much like a pimp chain…which might not be the best look for my brother.
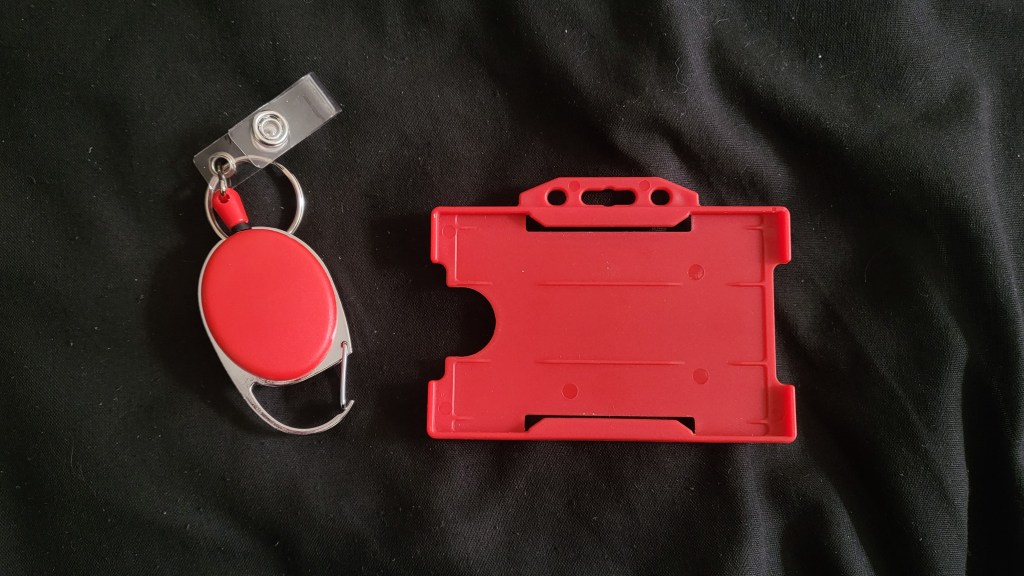
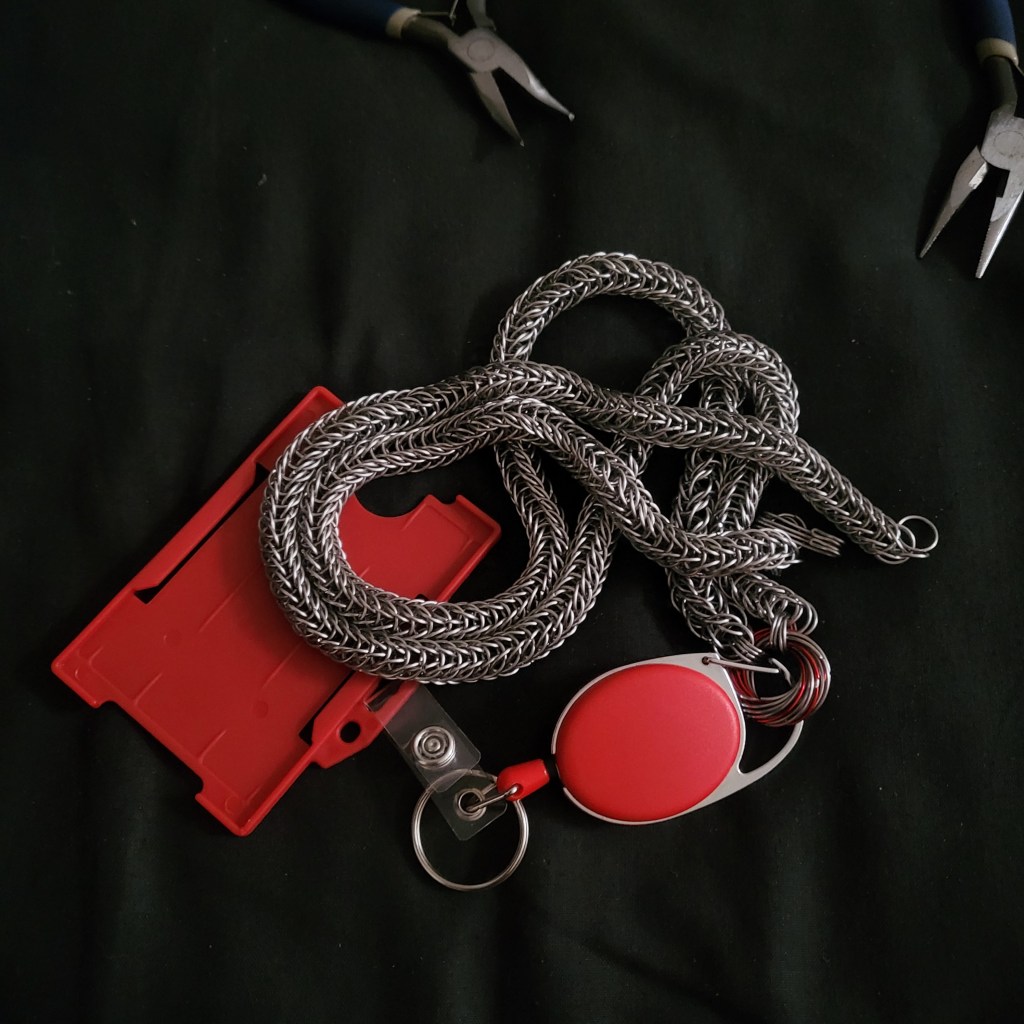
Speaking of uni colours, the other main colour for his uni is red. I decided to incorporate this colour with the card holder on the lanyard and an extendable clip thing. I also bought some red aluminium wire in the hopes that I could accent some of the chain(s) with red as well (as it would be too weak to use by itself).
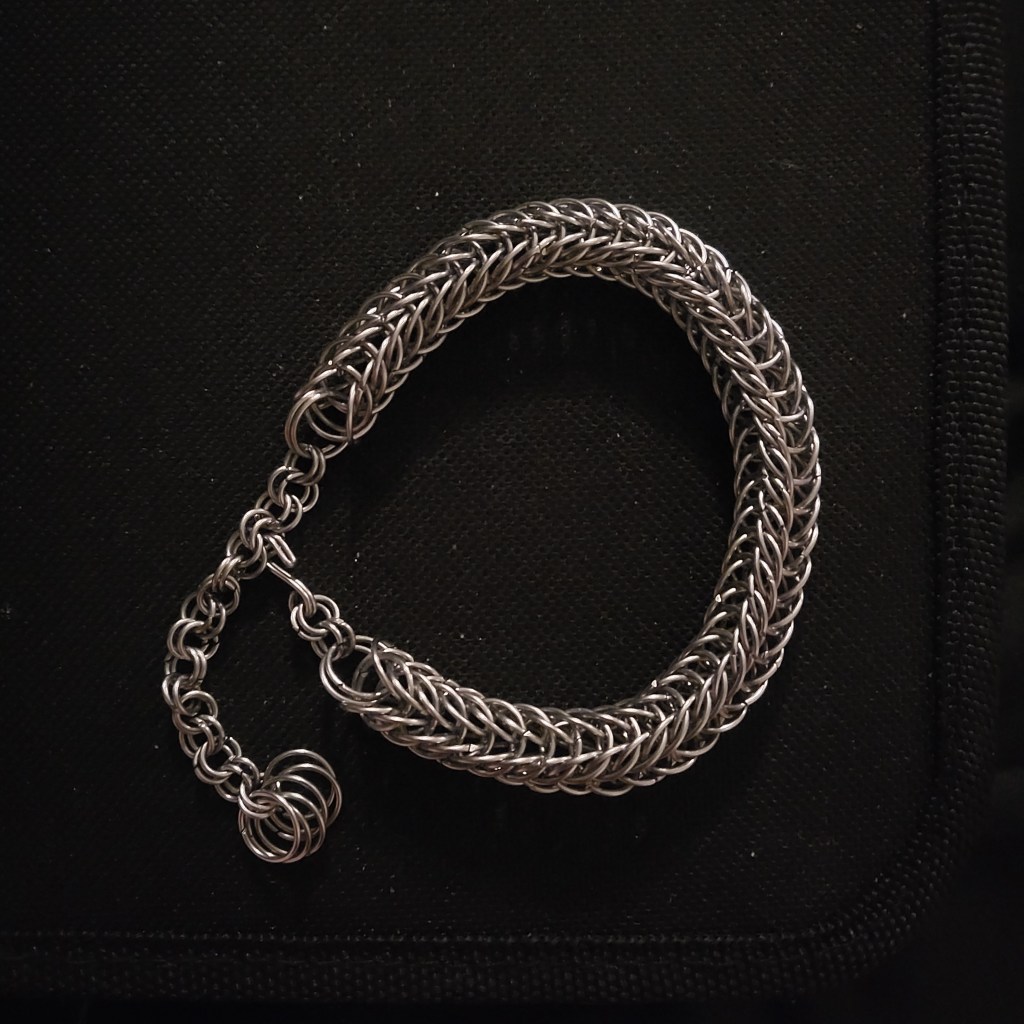
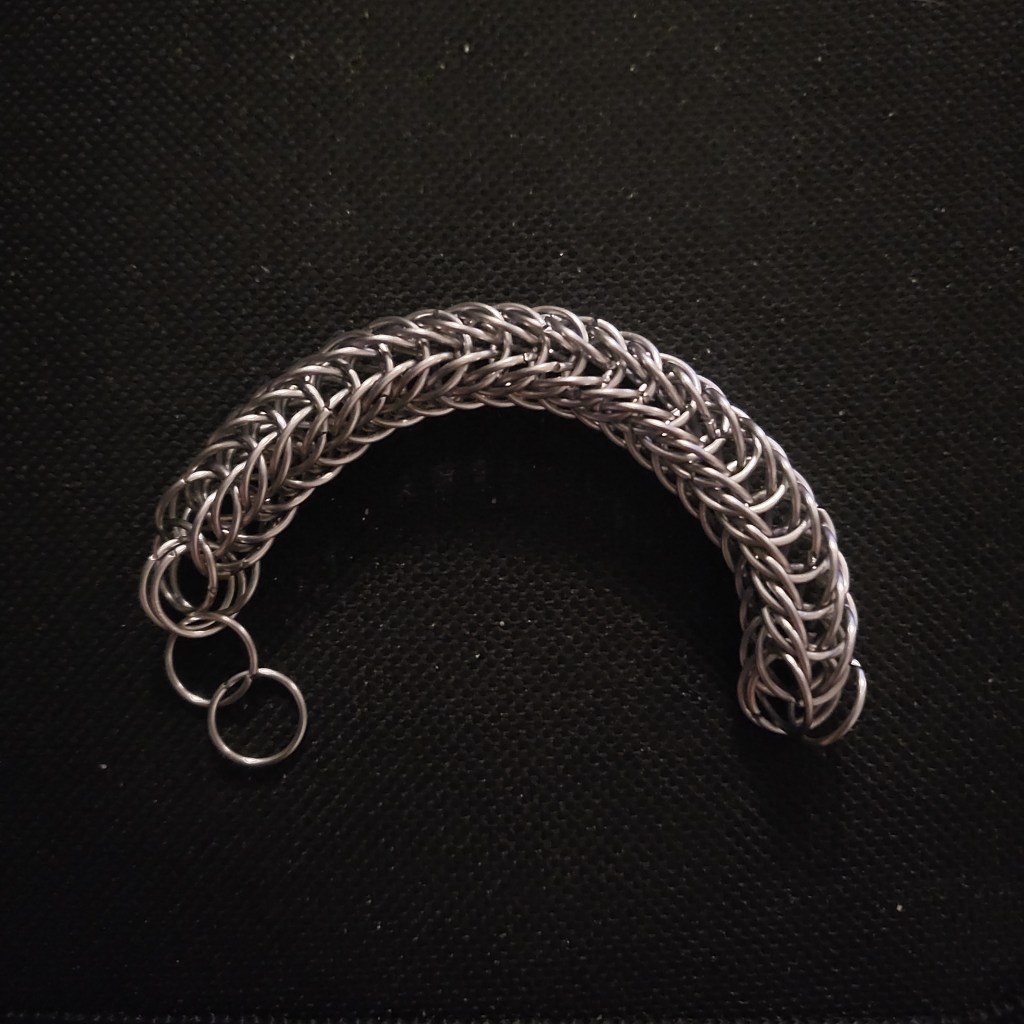
Then I had to decide on what weave to use. I decided to use a modified Persian chain, which was a bit thicker and a bit denser than normal Persian. I have dubbed this weave as ‘double Persian’ and had previously made a bracelet from it. I used steel rings with an AR of 8.8 (7.0/0.8mm).
I did have a bit of trouble getting the chains started because I completely forgot what I did the first time around (many months prior).
Once I did manage to sus out to start the chains (which, sadly, took several days), I could then get started on the lanyard.
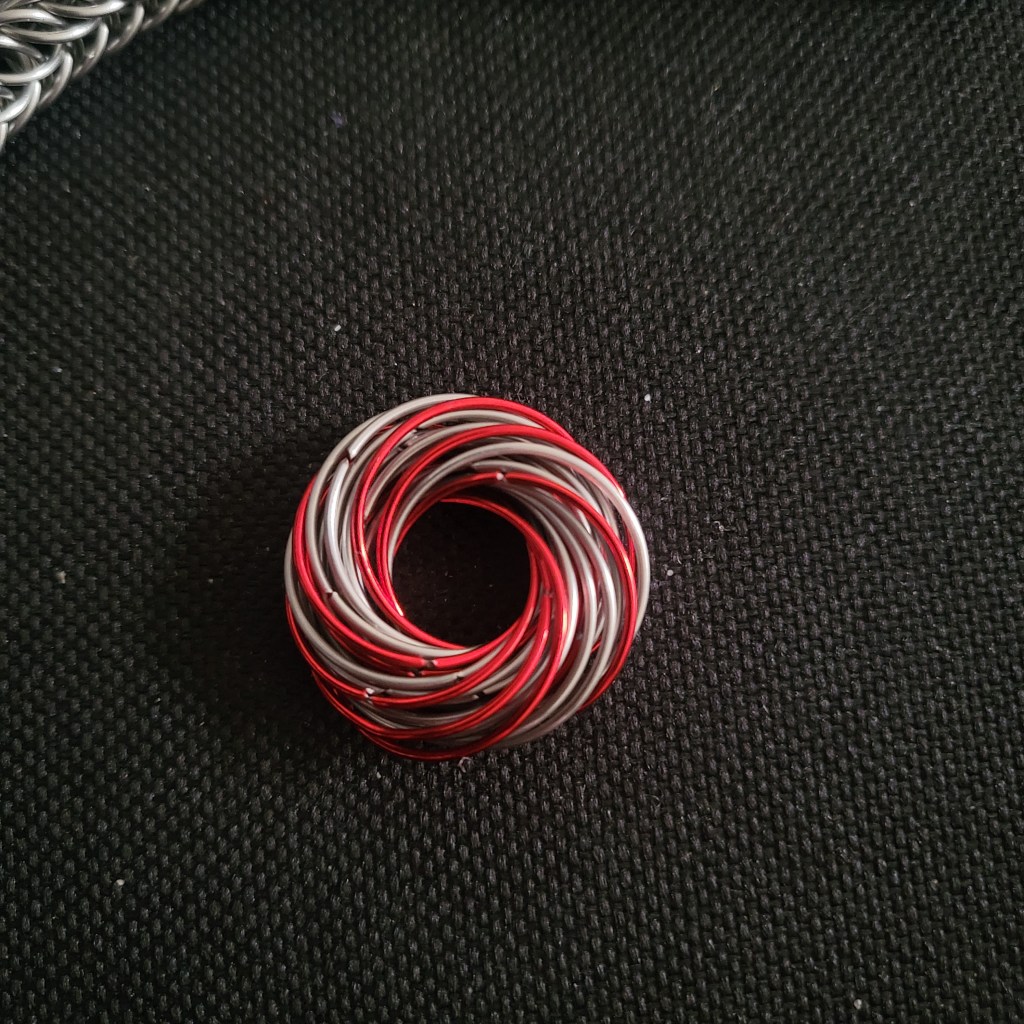
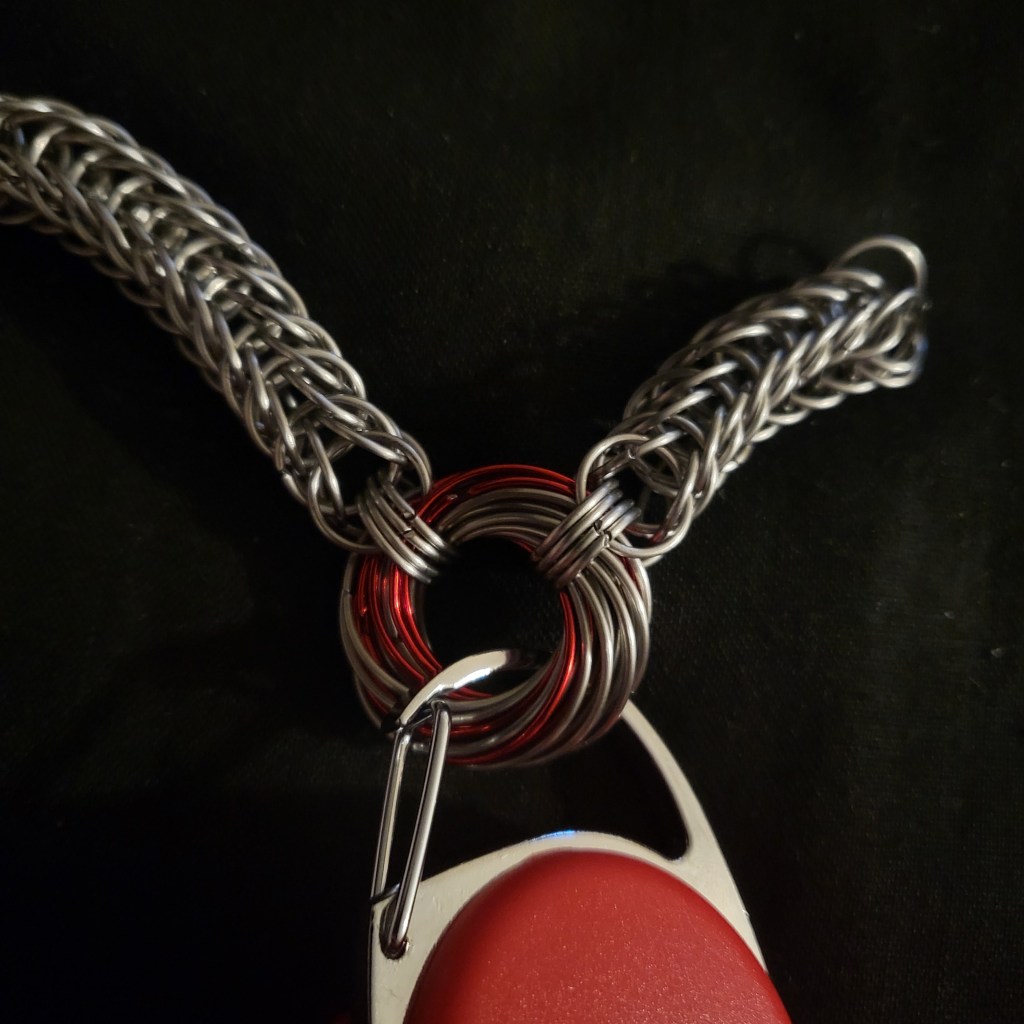
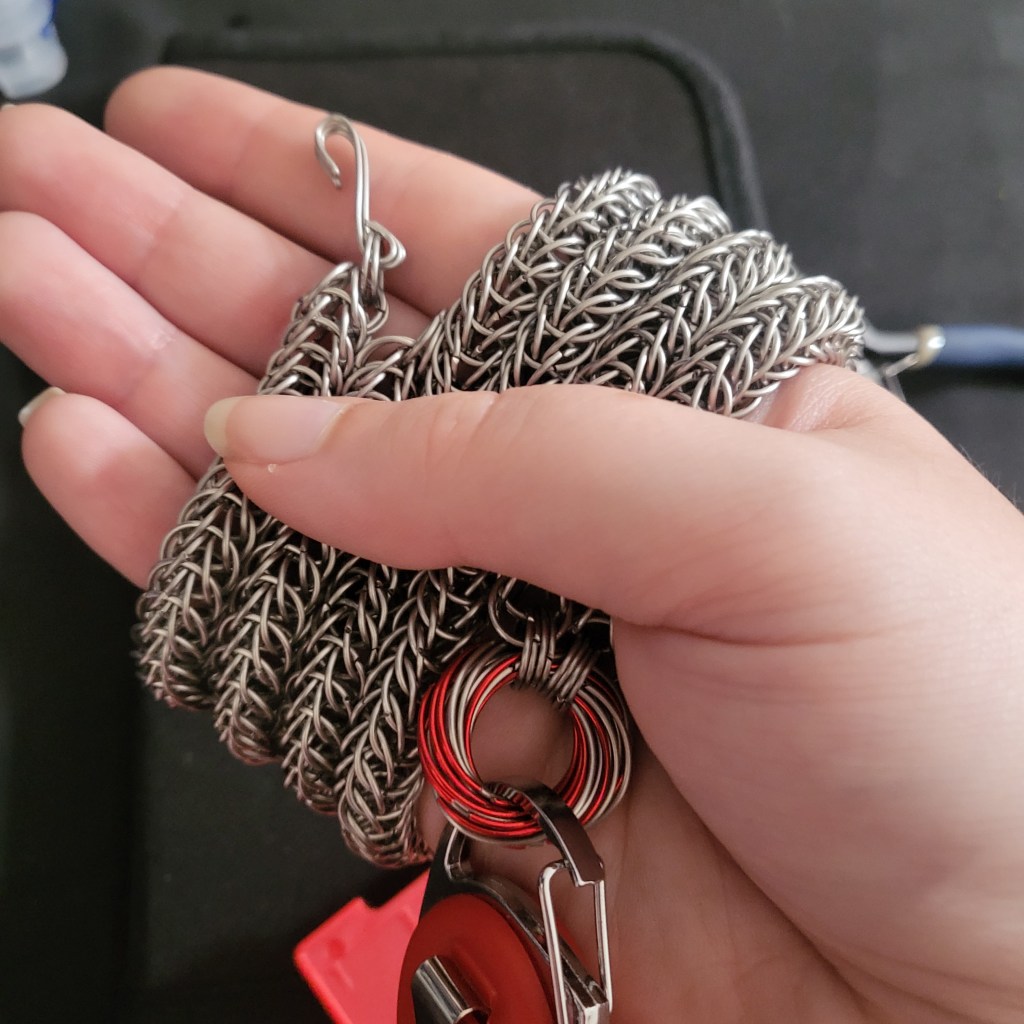
After making a small section of the first chain, I made the mobius ball that I then attached the chain to. I used steel and red aluminium rings with an AR of 19.0 (15.2/0.8mm). The red aluminium was purely decorative.
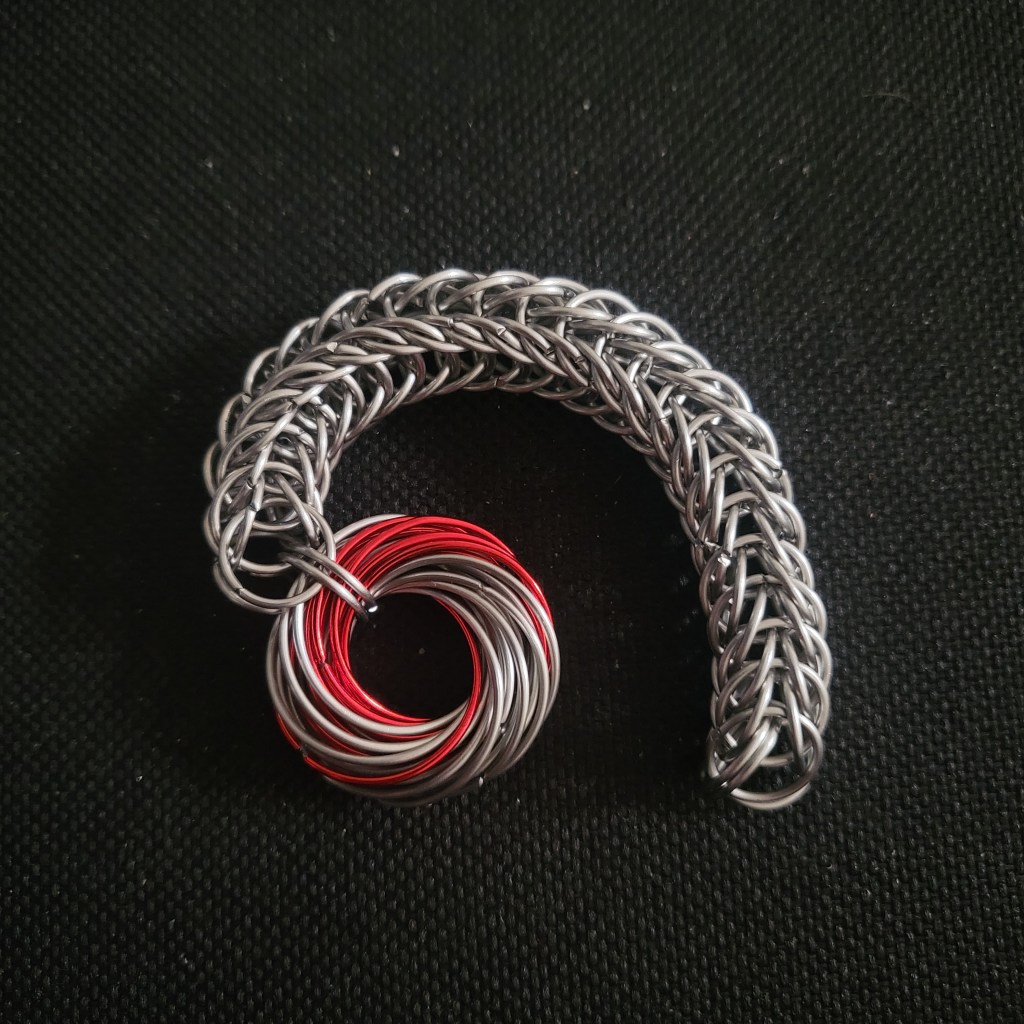
After this, I started the second chain and attached it to the mobius ball, alongside the first clip and card holder.
I slowly started building up the first chain.
While making the first length of chain for the lanyard, I also decided to reinforce where the chains attached to the mobius ball – increasing the number of rings used from 2 to 4 per chain.
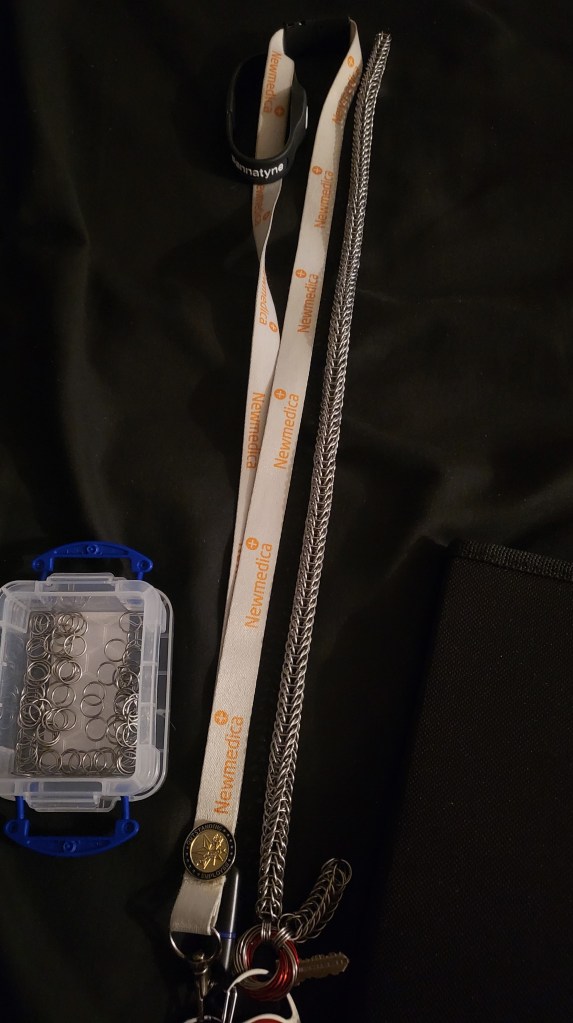
After a fairly significant amount of time, I completed my first length of chain. In order to make sure that it would be a good length, I decided to compare it against my own work lanyard.
Once I was happy with the length, I made a hook and attached it to the end. I wanted to make the hook twice as wide as I normally make them so it would be easier to grip. It may not be my finest work, as it was my first attempt at making a hook this way, but it’s functional. It is also the least likely section of the lanyard to be seen on a regular basis, as it will be tucked under a shirt collar or ponytail most of the time.

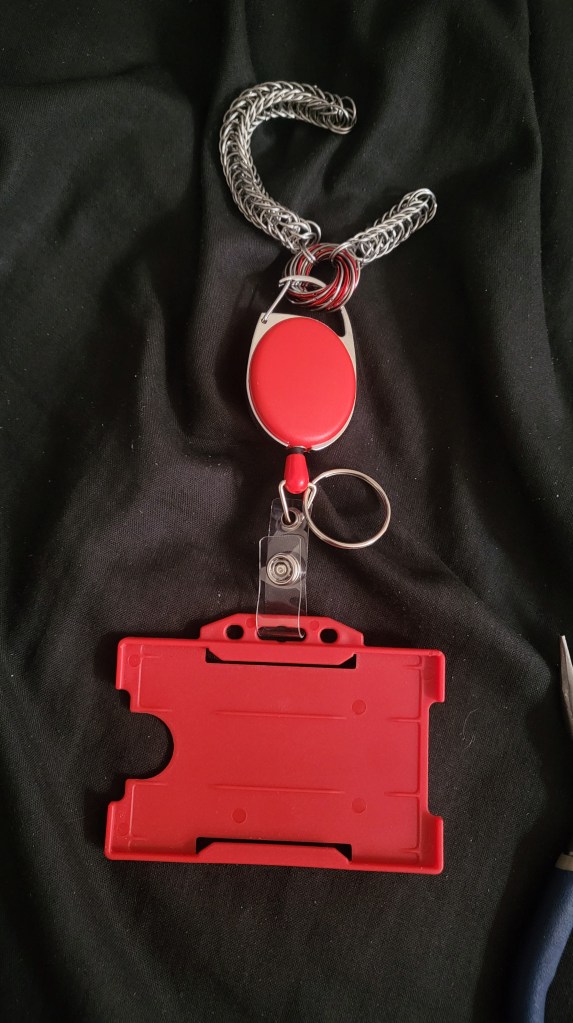
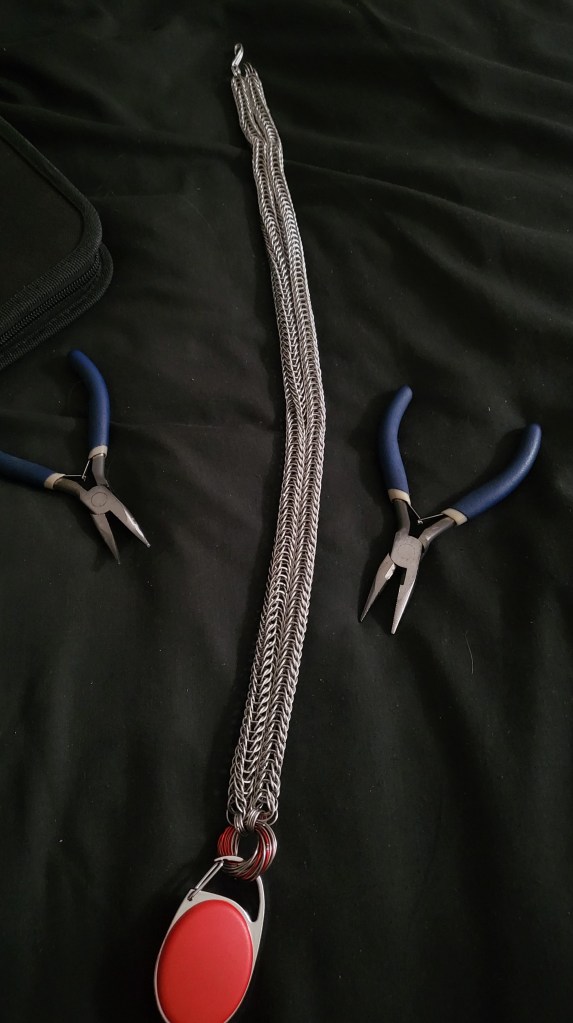
I then made the second chain, trying my best to make it the same length as the first one. And just like that, the lanyard was complete!
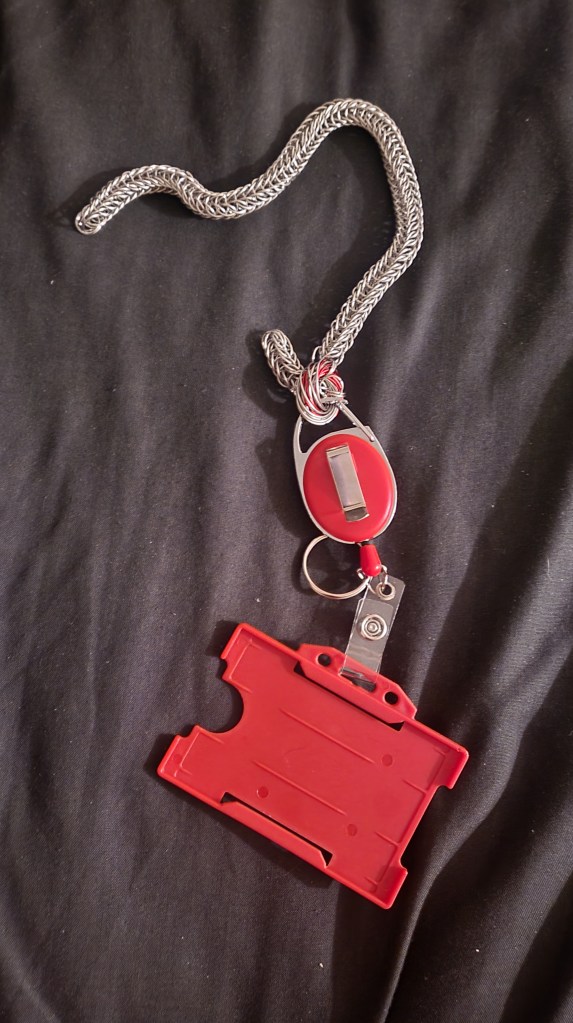
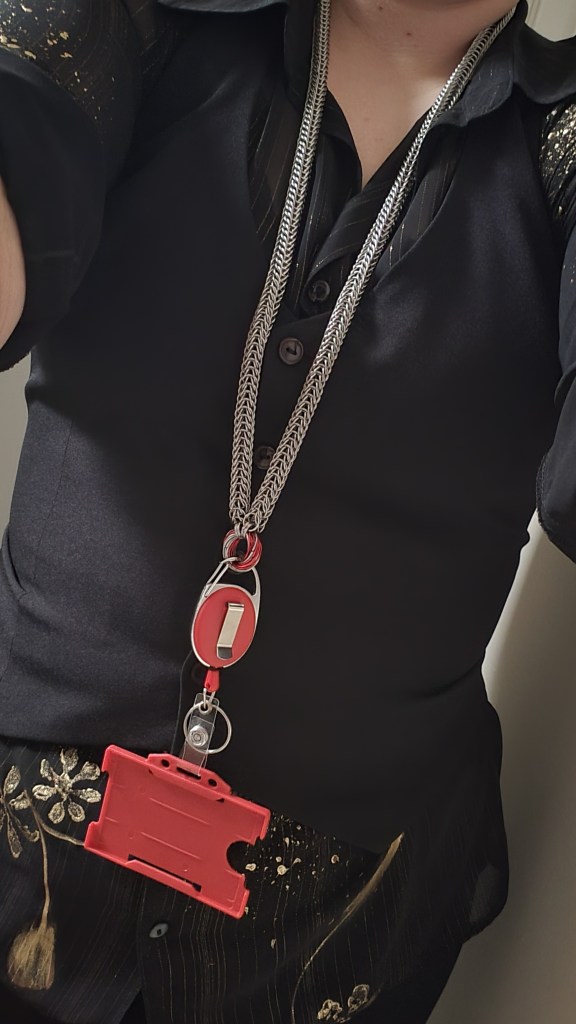
This is what the lanyard looks like when it’s on. I decided that the most fitting outfit wear while modelling it would be the outfit that I was going to wear to his graduation (since I’d only just figured that out the day before I finished making the lanyard).
I gave him his new lanyard the day prior to his graduation, as myself and my parents had all travelled up the day before the ceremony and had met him in the city for a meal after he had finished work. When he opened it, and realised what it was, he didn’t say anything – not even a thank you. However, what he did do was immediately take off his work lanyard, switch his ID cards over, and the proceed to wear and fiddle with that new lanyard for the rest of the night. Even though said nothing, that was the biggest compliment that I could have gotten. I am more than happy with that.
Bonus bit: A new project idea:
I must confess, while I was making this lanyard, my mind did wander a bit. I thought back to when I made my best friend a chainmail harness a couple of years ago as a Christmas present. I know that may sound a little bit strange, but she is a goth and was struggling to find any harnesses that fit her. And, upon hearing that, I thought ‘huh, I could do that’. So, I did. It took months to design, make the rings, and then to make but was well worth it. It fit well, despite the fact that I was guessing her measurements and that she first tried it on the day that I gifted it to her.
Despite knowing how long her harness took took make, I had the urge to design and make one for myself. I wanted it to be more complex compared the one that I had made Charis. I wanted to challenge myself. This is what I ended up designing (on the back of an envelope, as is tradition).
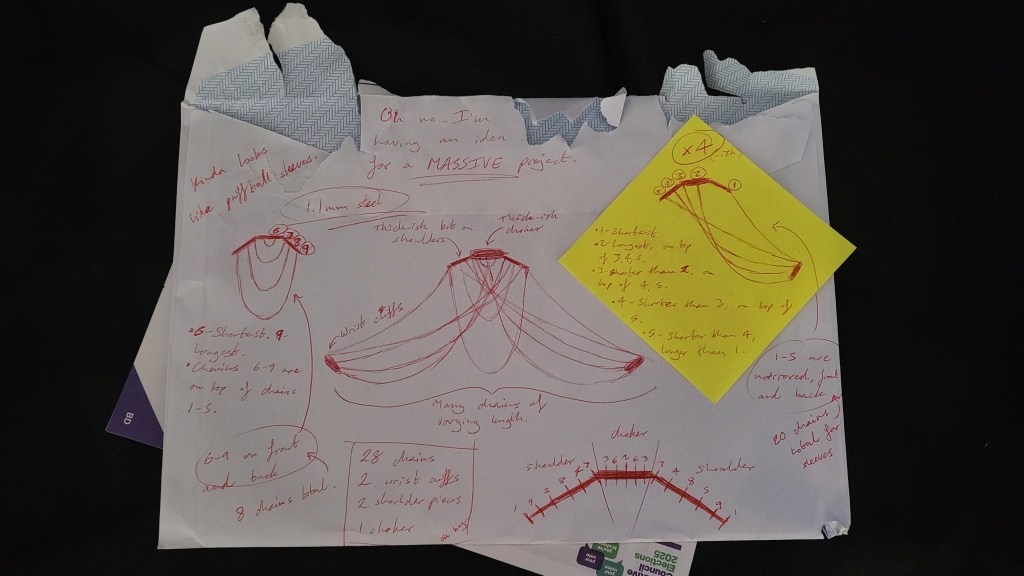
We’ll see how this one turns out. It is still in the planning stages at the moment, but have managed to figure out most of the weaves that I want to use for it. It will either be made from 1.1mm or 0.8mm steel wire. I have planned out the weaves and ring sizes based on 1.1mm steel already, on another bit of paper, but I am tempted to make it out 0.8mm steel to make the chains a bit more dainty…which means I will have to plan out all of the rings that I want to use again.
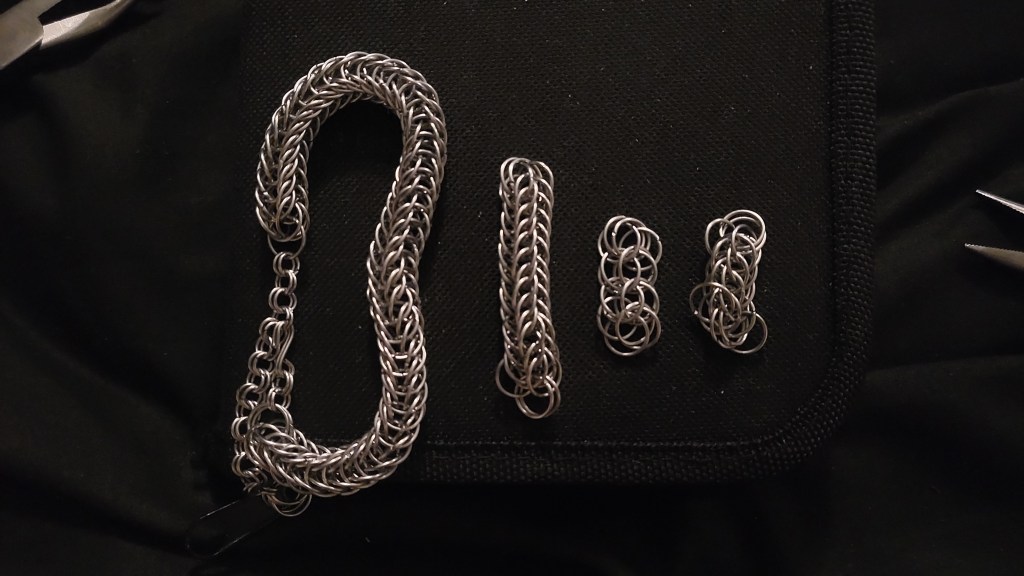
Again, this project is in the very early stages at this point. All I have done so far is make a few plans and started making some chain samples as a sort pallet for the piece. We’ll see where this ends up going in the future. Hopefully, it will end up looking good. I know it will take absolutely AGES to make, though (once I get to that point).
Now, as for the music that I’ll be recommending for today, I think I’ll go with the album Battle Ballads by Týr
I am particularly partial to the track Row, myself. Enjoy!
